How To Make A Dill Pickle Grilled Cheese
Spoiler Alert: If you’re counting calories, you came to the wrong recipe. In fact, let’s just make a gentleman's’ agreement that for the sake of this scintillating sandwich, calories can hit the bricks. Buckle up buttercup, cause this thing is about to get all sorts of cheesy.
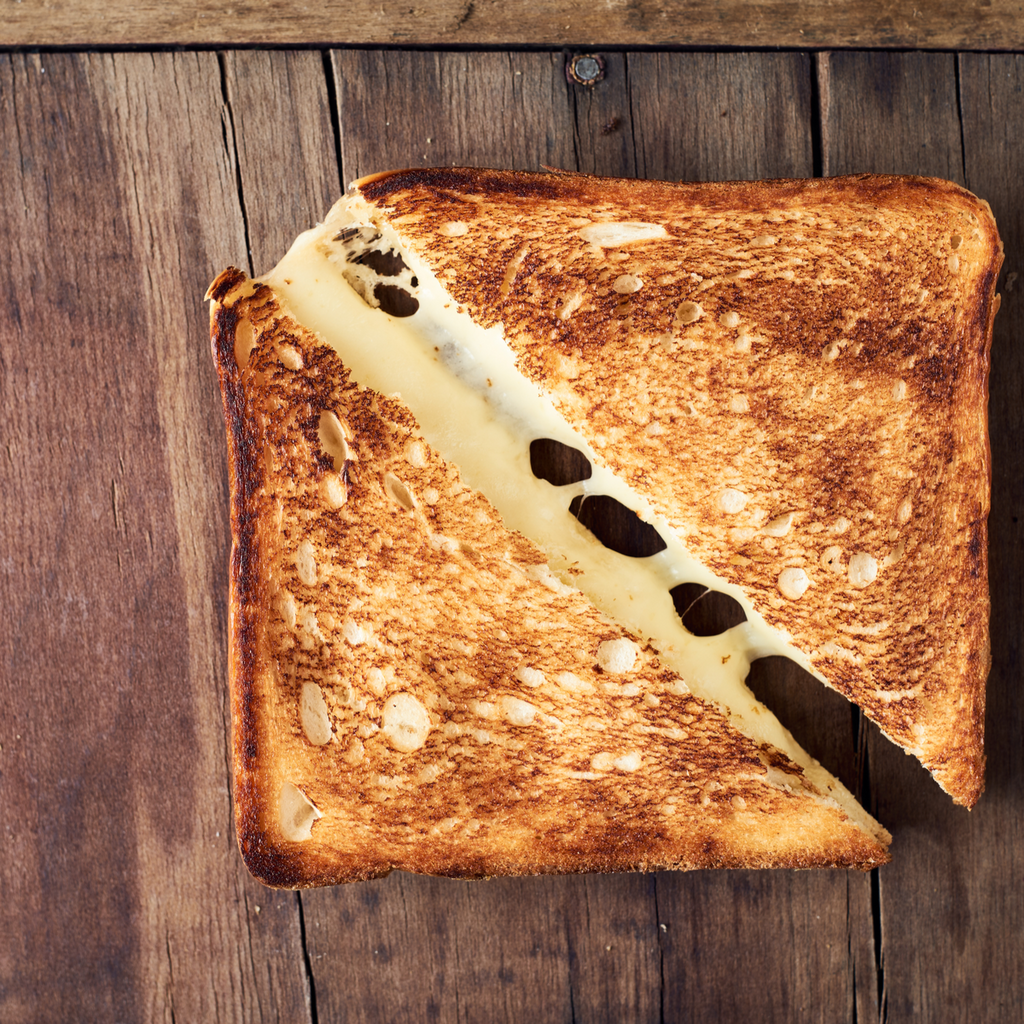
It’s been said that the best-grilled cheeses use incredibly soft bread, loads of salted butter, and as much cheese as you are humanly comfortable with. But, we believe there’s a missing ingredient for the true best grilled cheese sandwich. Congratulations mastermind, you guessed it… pickles.
This isn't any ordinary grilled cheese sandwich. Making a dill pickle grilled cheese may sound like a simple task, but like anything involving the culinary arts, there is a strict, proper technique that must be followed. If you’re curious on how to implement different types of pickles into this recipe, keep reading! The first half of this article explains the tried and true SuckerPunch methodology behind crafting the perfect dill pickle grilled cheese. However, if you showed up hungry and ready to cook, the recipe and directions are just a little further down.
The Need For Cheese
When making a dill pickle grilled cheese, it’s important to use the proper technique. Just like landing a great job or crafting the perfect pickle, building an impeccable pickle grilled cheese requires skill and technique.
You’re going to want to build the sandwich in a way that the pickles don’t fall out while you’re cooking or eating. Fortunately, cheese is one of the great culinary binding agents known to man and you’re going to want a lot of it on hand for this gut buster.
Stiffer cheeses like cheddar have a better gluey consistency, which is one of a few reasons sharp cheddar will be our cheese of choice for a pickle grilled cheese. While softer cheeses like gouda or brie are also excellent with pickles, this recipe calls for a culinary haymaker which is why Sullivan suggests the cheesy champ - cheddar.
Building A Better Sandwich
As far as this sandwich's actual construction goes, you will need at least three pieces of cheese. The pickles will sit directly in the middle of two of the pieces of cheese, literally sandwiching the pickles in the center.
Sullivan’s Pro Tip - Blot any excess moisture off of the pickles before you put them on the sandwich. Not only will this help the sandwich from becoming soggy, but it will also help the cheese bind to the pickles.
The third piece of cheese will be laid across the pickles lengthwise in a classic over/under weaving pattern. Depending on your weaving skills, you may need a fourth piece of cheese. If weaving isn’t your way, try wrapping each pickle pig in a blanket style.
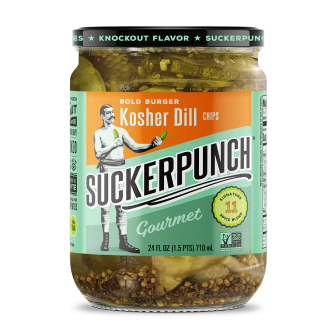
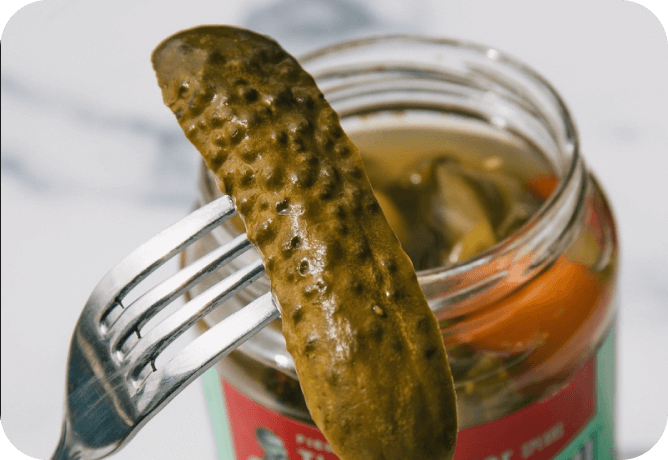
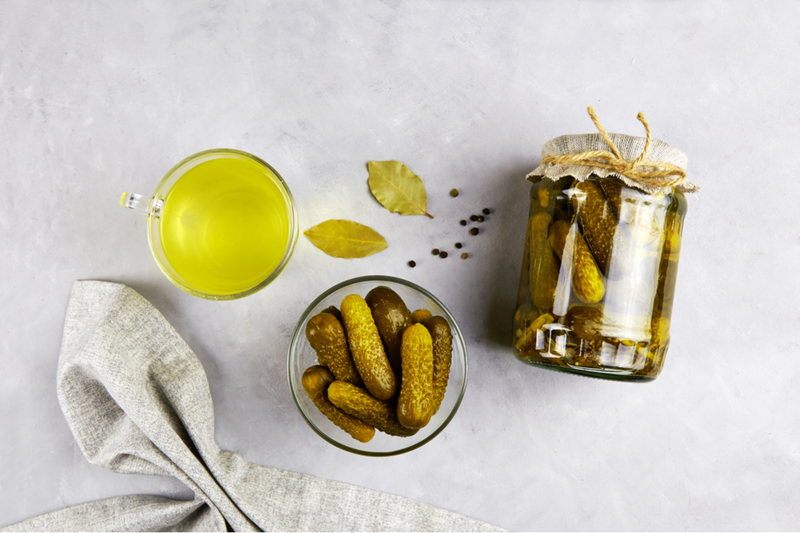
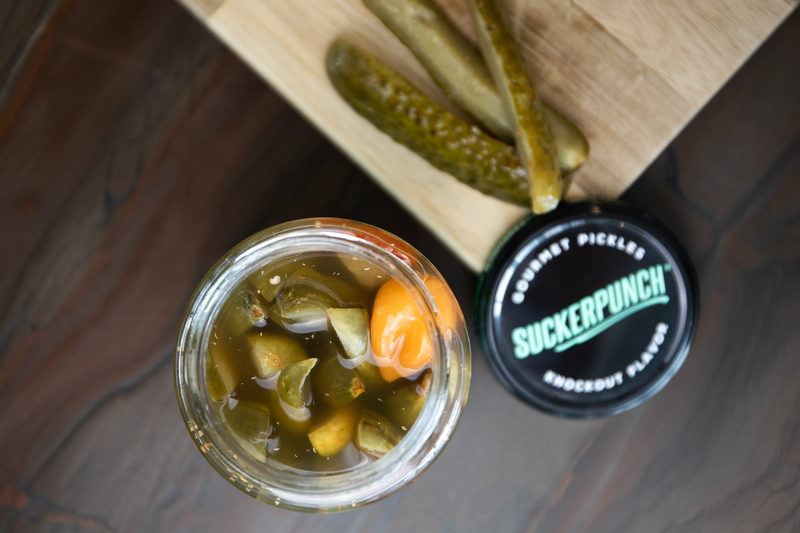
I know what you’re thinking; with all this cheese, how am I going to taste the pickles!? First, you’re going to use the SuckerPunch Classic Dill Spears as they pack the most punch, and can hold their own with any culinary contender. Second, the dill pickle flavor is bold and bright thanks to its refreshingly tangy bite and smooth tart aftertaste. Third, we are using sharp cheddar, which has the best flavor counterpoints to dill pickles. Sharp cheddar is mild enough to let the pickles be the star of the show but still has enough personality of its own to remain relevant and present on the palate.
Preparing For Culinary Greatness
The best sandwiches start with soft, succulent bread. Sullivan suggests a hearty, fluffy white bread; something like Potato bread or Sheepherder bread is perfect. You’re going to want to butter both sides of the bread as butter gives this coveted comfort food its delicious golden-brown crust.
Use soft, room temperature butter so that it spreads easily over the bread. Once the bread is buttered, set the buttered side down on parchment paper. The parchment paper will allow you to stage and craft the sandwich before it goes into the pan without getting butter all over everything.
The Secret To Melty Goodness
Are you ready for an ultimate grilled cheese life hack? Cover the pan to melt the cheese! It is a myth that lids create soggy sandwiches. Your bread will get crispy no matter what, thanks to the butter, so no need to worry about a soggy sandwich.
Keeping a lid on the frying pan will allow the cheese to melt quicker, and will glue all the ingredients together. This is going to be very important when it comes time to flip the sandwich in order to fry the other side.
If your sandwich has not yet congealed by the time you need to flip, you may run into problems with things falling out. Using a lid for the first half of the cooking process will ensure that all the cheese melts and everything in the middle stays where it should when you flip.
Serving Up A Winning Dill Pickle Grilled Cheese
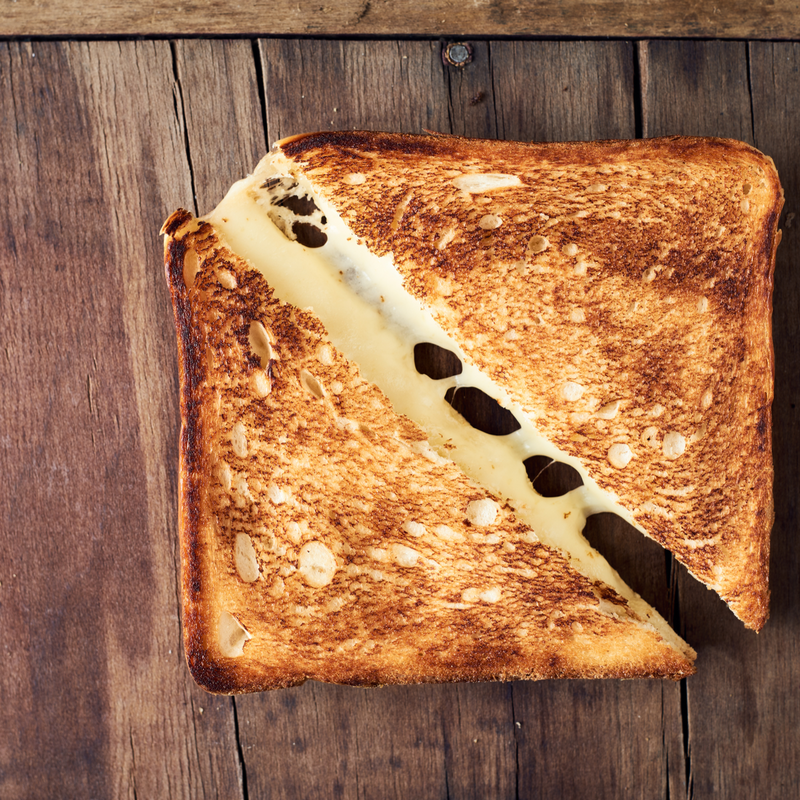
Hot take: Sandwiches should be cut in half...even if it’s only for you.
Some sandwich enthusiasts believe if you can’t wrangle your sandwich as is, you shouldn’t be eating it. Hogwash! Sandwiches are intended for pure unbridled joy, and if you’re not having fun eating it, then it’s going to take away from all the delicious flavor.
Whether you prefer to go diagonal, vertical, or even horizontal, cutting a sandwich ensures that you can easily pick up and bite into your crispy culinary creation.
Let’s Get Ready To Chow Down!
Now that you have a better understanding of the method behind the madness, we can start the cooking process. Here are all of the ingredients you will need for your SuckerPunch Dill Pickle Grilled Cheese:
1) One small frying pan with a lid. The frying pan should be big enough to fit a sandwich.
2) One sheet of parchment paper
3) Two slices of large sheepherder white bread (potato bread is also fine)
4) Four Tablespoons of room temperature salted butter
5) Three to Six slices of sharp yellow cheddar cheese (depending on desire for cheesiness)
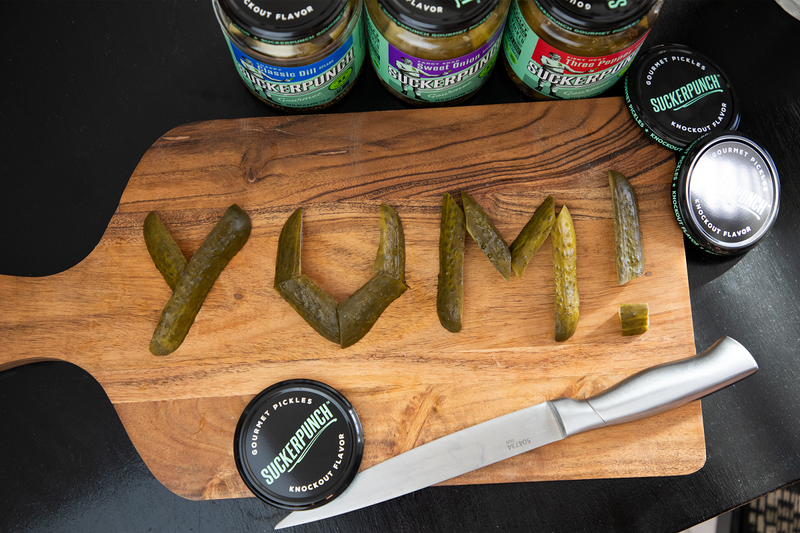
6) Four to six SuckerPunch Classic Dill Spears (evenly spaced along the bread)
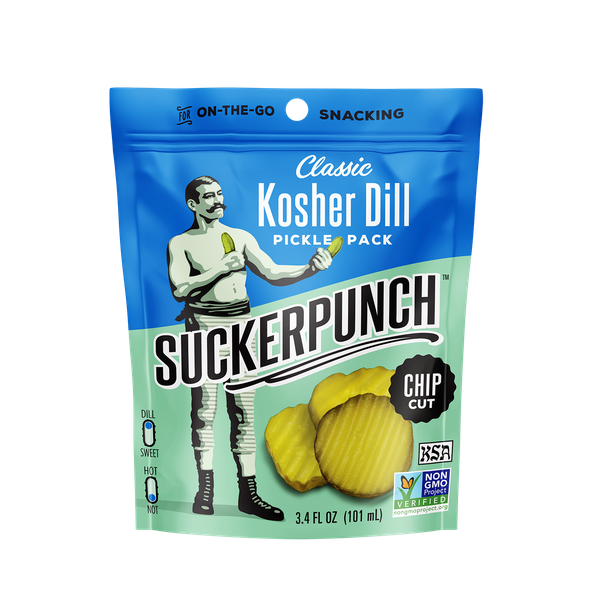
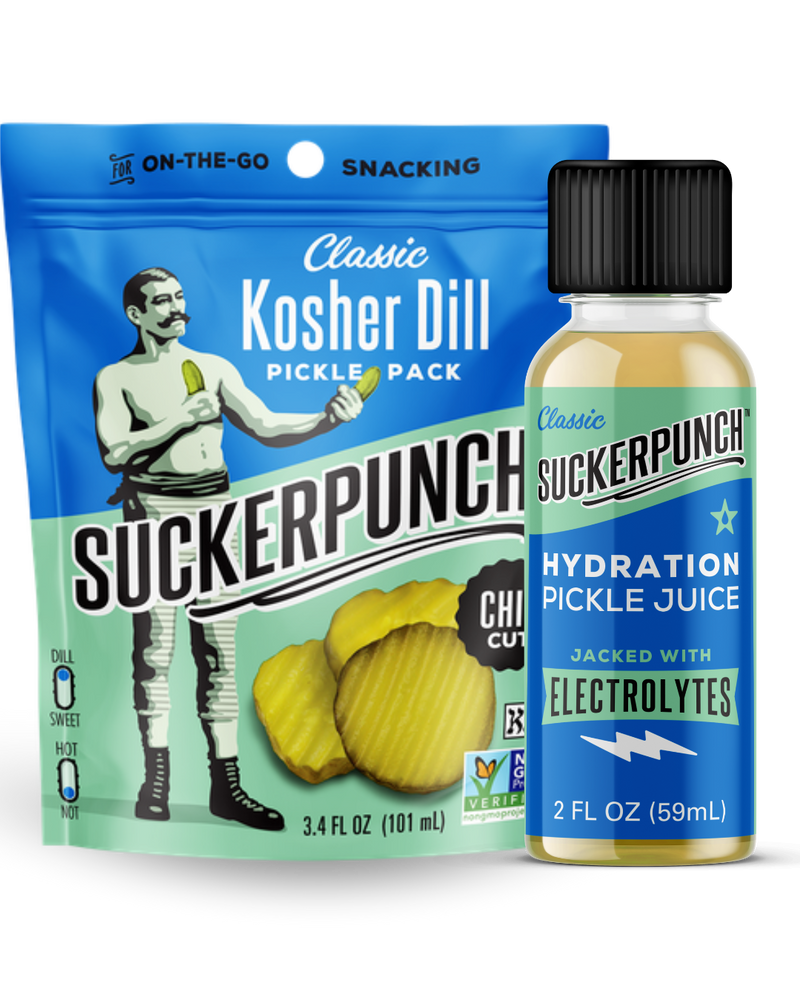
*If you don’t feel confident with spears, substitute the Classic Dill Pickle Chips from our SuckerPunch Snack Packs. Chips will create a flat layer that you can set in between the two main pieces of cheese. Using chips will require less cheese in general - probably only two or three slices instead of three or four.
Here is the step by step process for building the sandwich:
1) Butter the bread liberally and place butter side down on the parchment paper.
2) Place one layer of cheese onto the bread, making sure the bread's entire surface is covered. If this takes more than one piece of cheese, so be it!
3) Lay down a single layer of evenly spaced SuckerPunch Classic Dill Spears vertically. Make sure the spears are evenly distributed from one edge of the bread all the way to the other edge.
4) Weave a layer of cheese in between the pickles using an over/under technique.
5) Place the final piece of cheese on top of the pickles and cover with the second piece of bread - butter side up!
Here is the step-by-step process for cooking the sandwich.
1) Carefully use a wide spatula to transfer the sandwich from the parchment paper to the frying pan.
2) Once the sandwich is in the pan, turn on medium heat and cover with a lid.
3) Let the sandwich cook for 5 minutes on the first side.
4) Uncover and check and see if the bread is golden brown by gently lifting up the bread and checking. If the bread is golden brown, it’s time to flip. If the cheese is not melted, cover it back up after you flip. If the cheese is melted, but the bread is not golden brown, keep uncovered and turn up the heat slightly.
5) After the cheese is melty and the bread is golden brown on one side, carefully flip the sandwich in a definitive, fluid motion.
6) Let the sandwich cook for 3-4 minutes on side two. Side two won’t take as long, so keep a sharp eye, checking for doneness every 90 seconds.
7) Once the bread is golden brown on both sides, remove the sandwich from the pan and place it on a plate to cool.
8) Turn off the burner.
9) Cut the sandwich in half, serve and enjoy!
Here is the step by step process for eating:
1) Bite
2) Make yummy noises
3) Chew
4) Swallow
5) Repeat!
With all that hard work, you probably worked up an appetite, so don’t be afraid to double down and make a second sandwich! With the know-how and ingredients at your disposal, there is no limit to how many dill pickle grilled cheeses you can whip up and take down.
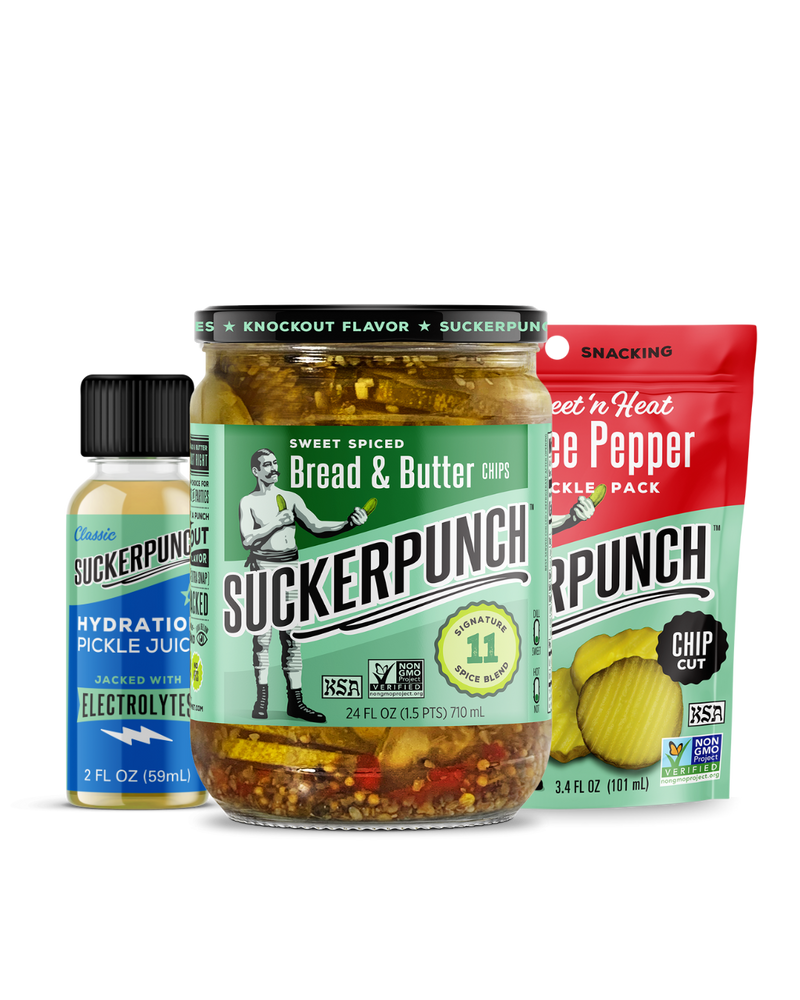
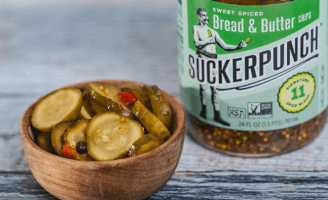
While this is the most basic version of a dill pickle grilled cheese, don’t fool yourself into thinking this is the only possible recipe. We recommend getting creative with your pickle grilled cheese endeavors. For example, you could make a pepper heads delight grilled cheese with pepper jack cheese and Fiery Heat Three Pepper Spears on sourdough! Or, you could sweeten your day with a delicious Spicy Bread & Butter and Goat Cheese grilled cheese on pumpernickel. If you're feeling adventurous, you can even add bacon, salami, or onion to this melty sandwich for additional flavor.
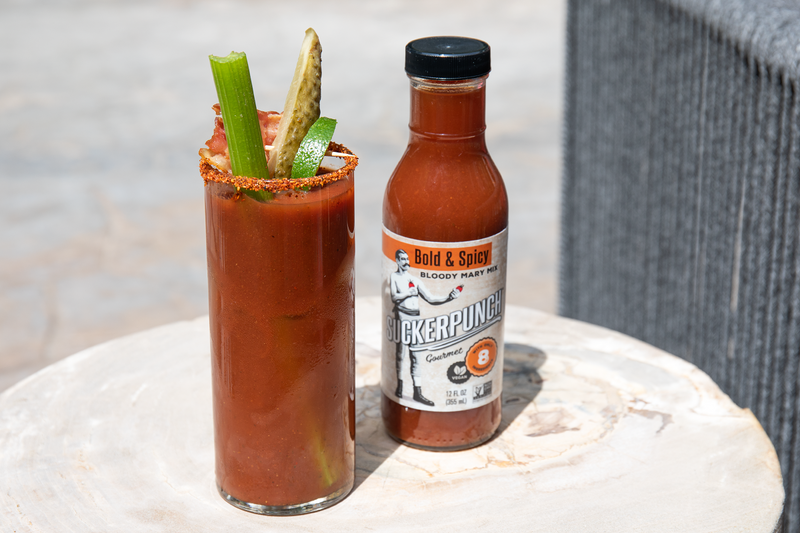
The dill pickle grilled cheese is a great jumping-off point for putting pickles in the middle of a sandwich. If you enjoyed this food recipe, take a look at our other recipes like how to make a bloody mary and dill pickle martini. Stay tuned to the SuckerPunch blog for more great sandwich ideas, and be sure to tag us in any pics of food where SuckerPunch is an ingredient!

