


Pickle Juice Brined Chicken: The Ultimate Fried Chicken Recipe
Prep Time: 20 minutes
Brine Time: 4 hours (minimum)
Cook Time: 20 minutes
Total Time: 4 hours, 40 minutes
Servings: 4-6
The Fried Chicken Recipe That'll Change Everything
Get ready to elevate your fried chicken game with this mouthwatering pickle juice-brined chicken recipe! By brining juicy chicken pieces in tangy dill pickle brine, you'll infuse them with incredible flavor and tenderness, resulting in a perfectly crispy crust and succulent interior.
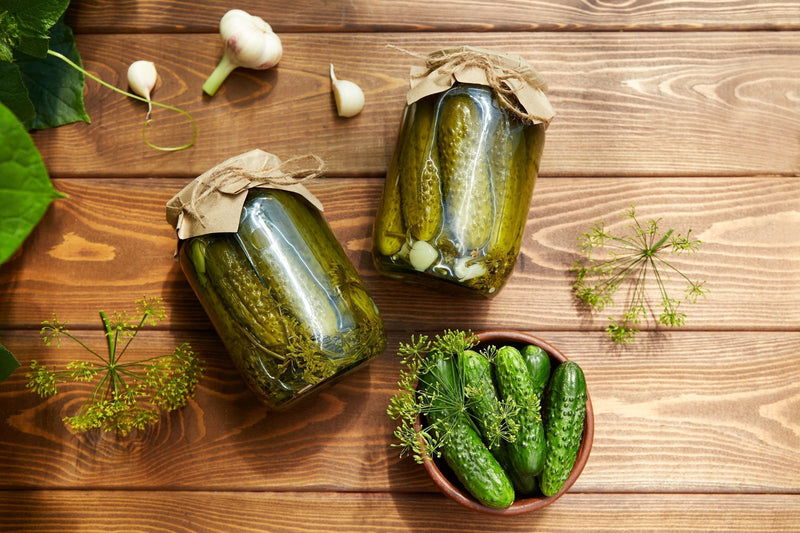
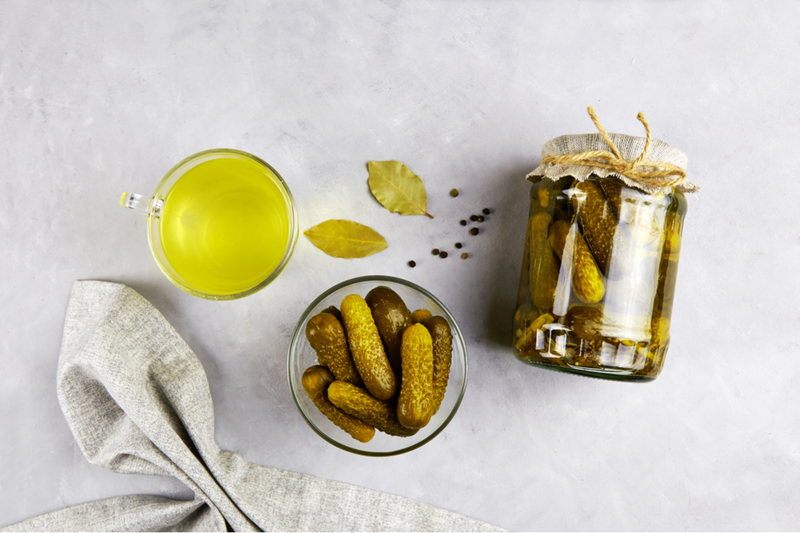
This pickle brine chicken recipe combines the zesty kick of dill pickles with the satisfying crunch of golden brown fried chicken. If you've ever wondered what to do with that leftover pickle juice sitting in your jar of pickles, this is your answer. Stop pouring that liquid gold down the drain and start making the best brined chicken of your life.
Why Pickle Juice Makes the Best Chicken Brine
So what's the big deal about using pickle brine for chicken? Here's the science behind why this simple recipe produces such incredible results:
-
Tenderization: The acidity in pickle juice breaks down tough protein fibers, making your chicken unbelievably tender. This works especially well for chicken breast, which can dry out during cooking.
-
Moisture Retention: The salt in the brine helps the chicken hold onto moisture during frying, so you end up with juicy meat under that crispy crust.
-
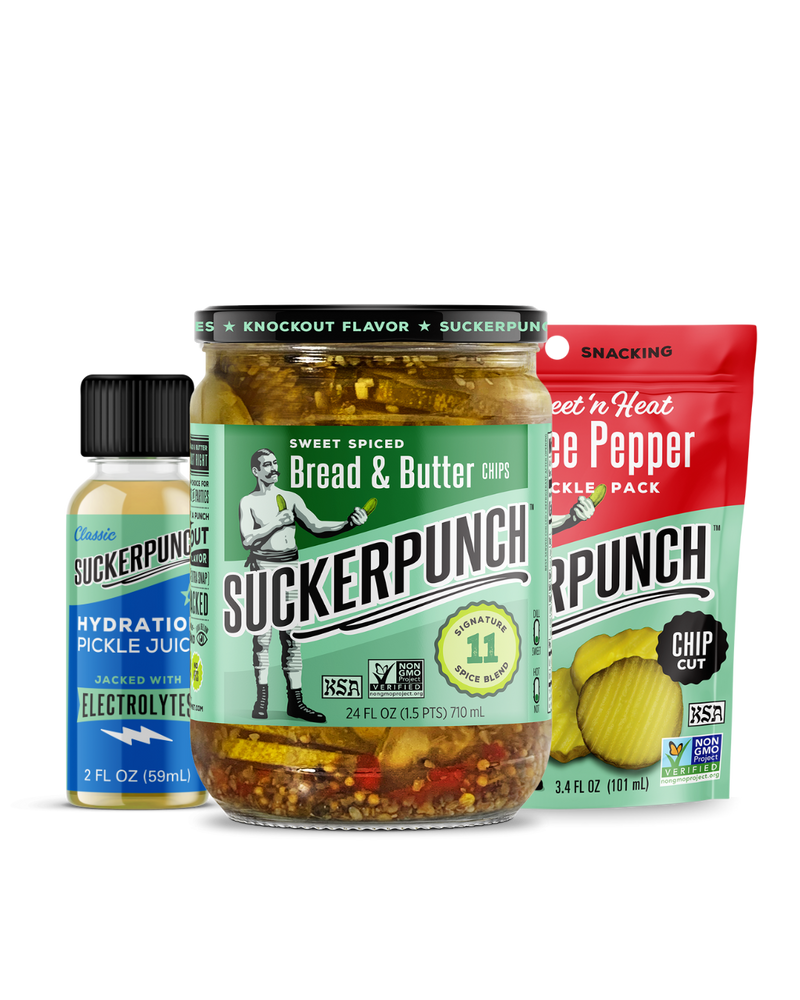
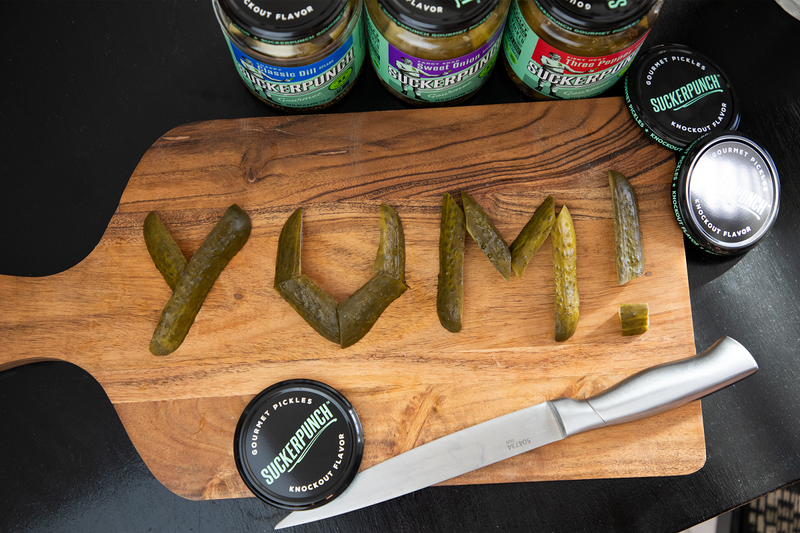
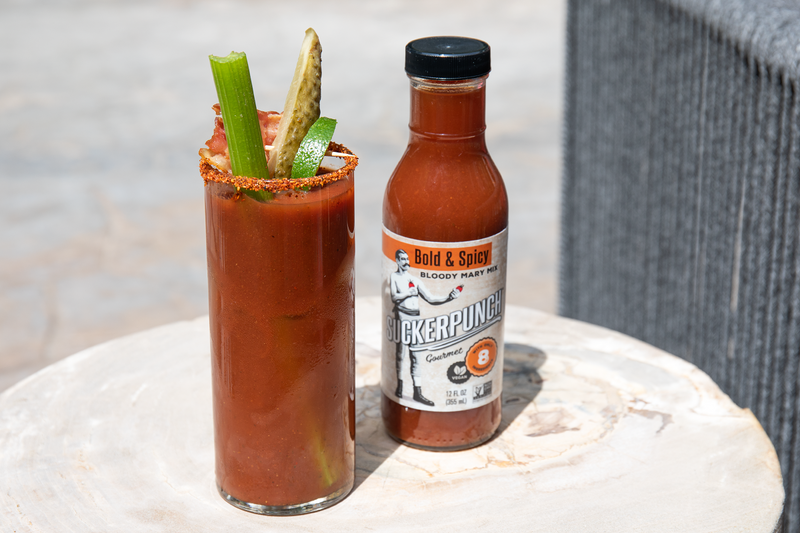
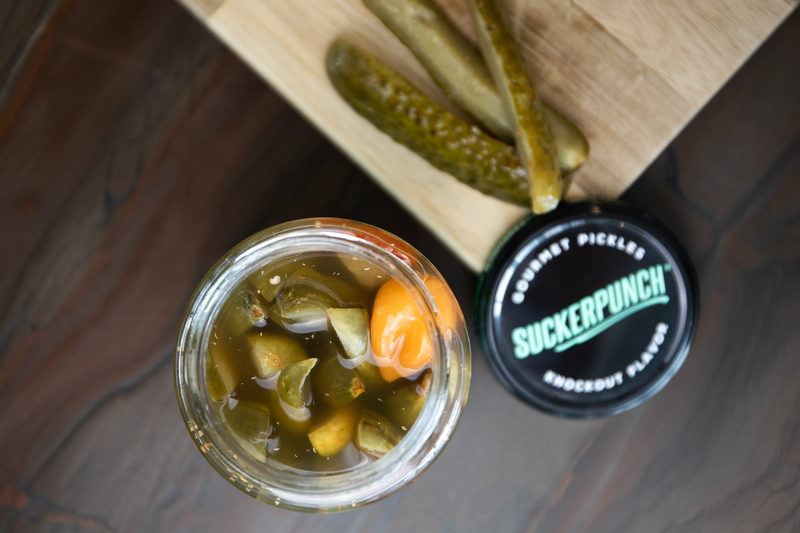
Built-In Seasoning: When you use quality pickle juice from SuckerPunch Classic Dill Pickles, half your seasoning work is already done.
What You'll Need: Equipment Checklist
-
Large bowl: For brining your chicken pieces
-
Second large bowl: For your flour mixture
-
Large pot or Dutch oven: For frying (a cast iron works great too)
-
Instant-read thermometer: For checking internal temperature
-
Baking sheet with rack: For finishing in the oven
-
Paper towel-lined plate: For draining
The Complete Ingredient Lineup
Time to gather your players. This pickle juice-brined chicken recipe uses a flavorful spice mix, tangy brine, and a crispy coating that'll have everyone asking for seconds.

The Spice Mix
-
2 tablespoons paprika
-
1½ tablespoons black pepper
-
2 teaspoons garlic powder
-
2 teaspoons dried oregano
-
¾ teaspoon cayenne pepper
The Pickle Brine
-
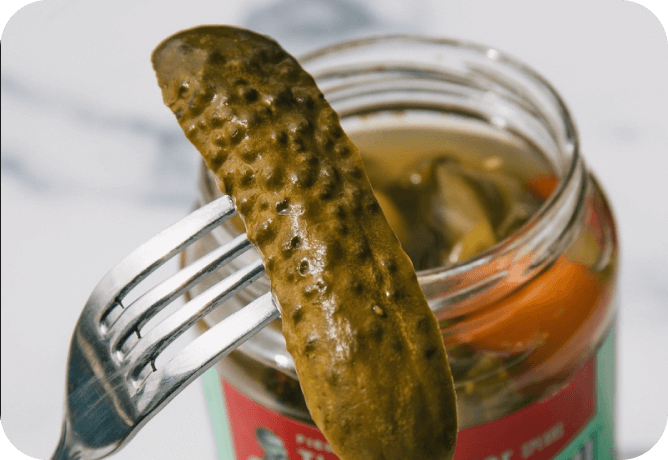
1 cup SuckerPunch Classic Dill Pickle brine, strained
-
1 large egg
-
1 tablespoon kosher salt
The Chicken
-
3 - 3½ pounds skin-on chicken pieces (chicken thighs, chicken legs, chicken breast, or chicken wings all work great)
The Crispy Coating
-
1½ cups all-purpose flour
-
½ cup cornstarch
-
1 teaspoon baking powder
-
2 teaspoons kosher salt
For Frying
-
5 cups shortening or frying oil
Pro tip: Don't throw away that leftover pickle brine after this recipe! Save it for your next batch or use it in marinades, salad dressings, or pickle-brined grilled chicken.
Step-by-Step: Making Pickle Juice Brined Fried Chicken
Step 1: Make the Spice Mix
Combine all spices (paprika, black pepper, garlic powder, dried oregano, and cayenne pepper) in a small bowl and mix together until completely combined. This blend gives your brined chicken that perfect balance of heat and flavor.
Step 2: Prepare the Pickle Brine
Measure 2 tablespoons of the spice mixture into a large bowl. Add the pickle juice (strained to remove any solids), egg, and kosher salt. Whisk everything together until well combined.
The egg helps the brine cling to the chicken and creates extra binding power for that flour mixture later.
Step 3: Brine the Chicken
Add your chicken pieces to the large bowl with the pickle brine, and toss to combine until every piece is well coated.
Cover with plastic wrap and refrigerate for at least four hours, tossing occasionally to brine the chicken evenly. For even more pickle flavor, you can brine overnight (up to 24 hours). The longer you brine, the more that tangy dill pickle goodness penetrates the meat.
Step 4: Prepare the Flour Mixture
In another large bowl, mix together the flour, cornstarch, baking powder, 2 teaspoons kosher salt, and the rest of the spice mixture. This combination creates that shatteringly crispy crust everyone loves.
Step 5: Preheat Your Oven
Preheat the oven to 350℉. You'll use this to finish your fried chicken and ensure it reaches the proper internal temperature without overcooking the coating.
Step 6: Coat the Chicken
Remove the chicken from the brine one piece at a time, shaking off the excess brine. Drop it into the flour mixture and toss to coat. Press the flour mixture into the chicken with your hands to help it stick and build up those crispy bits.
Step 7: Heat the Oil
Heat the fryer oil or shortening to 425℉ in a large pot on the stovetop, ensuring your pot has the correct depth to completely cover the chicken while frying without spilling the hot oil. A cast-iron Dutch oven works beautifully for this.
Step 8: Fry Until Golden Brown
Shake each piece of chicken to remove any extra flour. Carefully add to the fryer one piece at a time, ensuring the oil doesn't splash. The oil should drop to about 300 degrees; Adjust your heat so it stays there.
Fry until golden brown on one side, about 6 minutes, then carefully flip the chicken and fry for another 4 minutes.
Step 9: Finish in the Oven
Transfer your fried chicken to a clean baking rack with a baking sheet underneath it, and transfer the tray to the oven. Bake for 5-10 minutes, checking each piece for doneness with an instant-read thermometer.
The thickest part of the chicken breast should reach an internal temperature of 150℉, and the chicken thighs and drumsticks should be 165℉.
Step 10: Rest and Serve
Transfer to a plate lined with a paper towel, sprinkle with a little more kosher salt, and let the chicken rest for a few minutes before serving. This resting period allows the juices to redistribute and the coating to set. But serve while that crispy crust is at its peak crunchiness!
Tips for Perfect Pickle Juice Brined Chicken

-
Use quality pickle juice: SuckerPunch Classic Dill Pickle brine is packed with garlic, dill, and spices that infuse incredible flavor into every bite.
-
Don't skip the brining time: Four hours is the minimum, but overnight brining takes this recipe to another level.
-
Strain the brine: Remove any pickle solids before brining. They can burn during frying.
-
Let excess brine drip off: Too much liquid prevents the flour mixture from sticking and can cause oil splatters.
-
Monitor your oil temperature: Keep the oil around 300℉ during frying.
-
Use an instant-read thermometer: The only reliable way to know your brined chicken is cooked to a safe internal temperature.
Variations to Try

Air Fryer Pickle Brined Chicken: Follow the brining and coating steps, then cook in your air fryer at 375℉ for 20-25 minutes, flipping halfway through.
Boneless Chicken Breast Version: Use boneless chicken breast cut into strips for pickle-brined chicken tenders. Reduce frying time to 4-5 minutes total.
Spicy Pickle Brined Chicken: Use SuckerPunch Spicy Dill Pickle brine instead of classic, and double the cayenne pepper for serious heat.
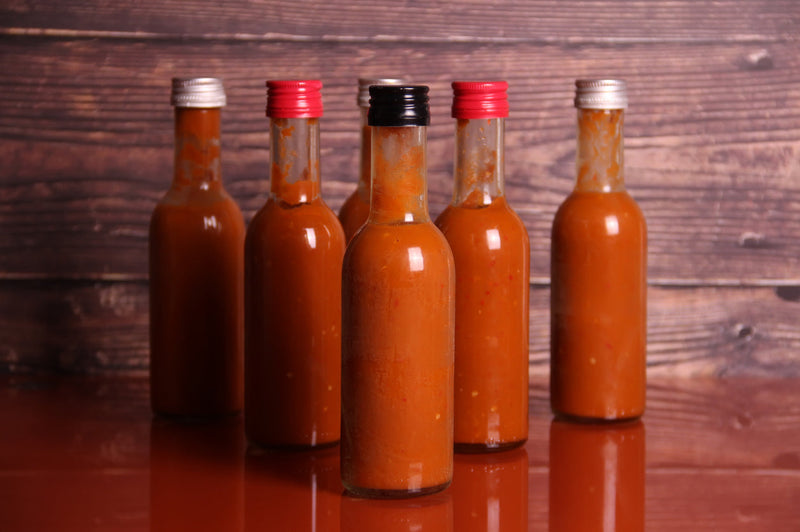
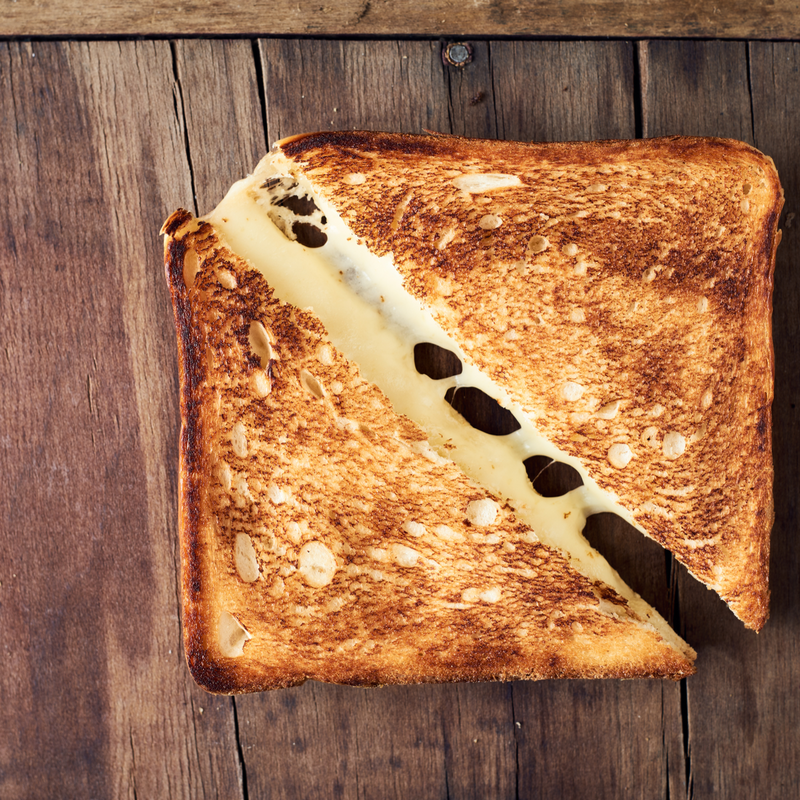
Pickle Brined Chicken Sandwich: Serve your fried chicken on a brioche bun with extra pickles, mayo, and a drizzle of hot sauce.
What to Serve with Pickle Juice Brined Fried Chicken
This pickle brine chicken pairs perfectly with all the classics:
-
French Fries: The ultimate fried chicken companion
-
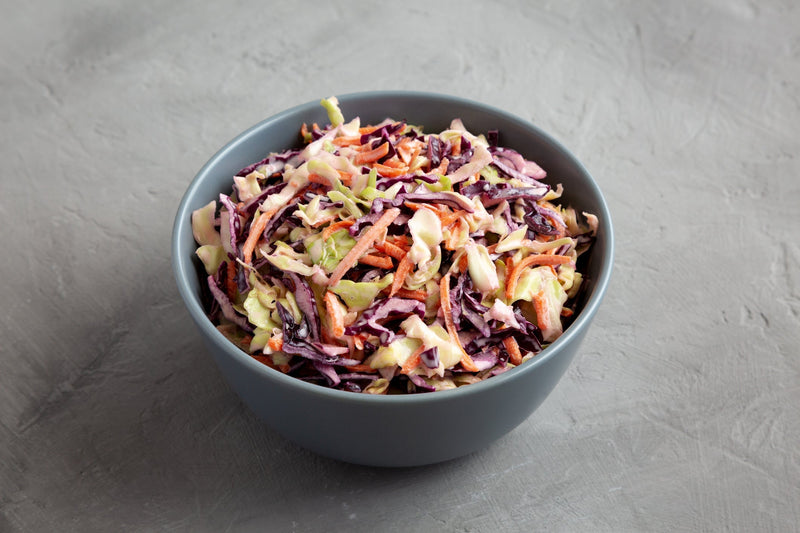
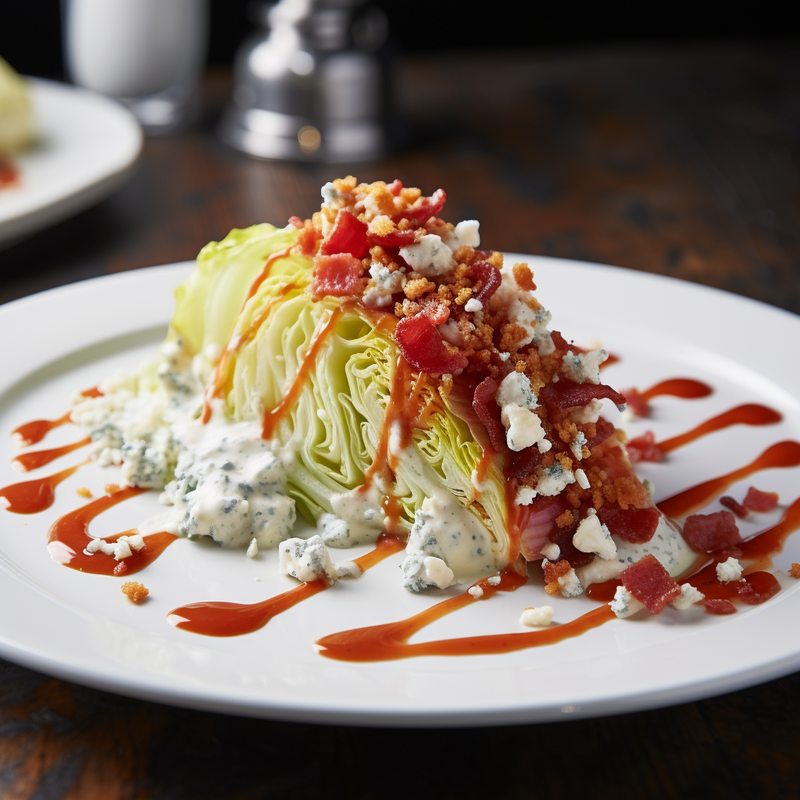
Coleslaw: Cool and creamy contrast to the tangy, crispy chicken
-
Dill Pickle Potato Salad: Double down on that pickle flavor
-
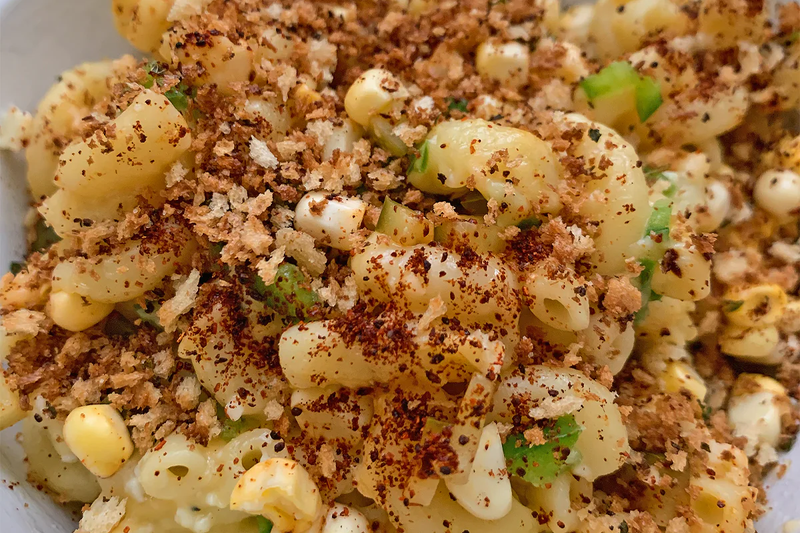
Mac and Cheese: Creamy comfort food that never fails
-
Cucumber Slices: Fresh and crunchy for a lighter option
Storage Tips
-
Leftover fried chicken: Store in the refrigerator for up to 3-4 days. Reheat on a sheet pan at 375℉ for 10-15 minutes to restore crispiness.
-
Leftover pickle brine: Save it for marinades, brines, or more recipies.
-
Make ahead: Brine the chicken overnight, then coat and fry the next day. Don't coat until you're ready to fry.
Why SuckerPunch Pickle Brine Makes the Difference
Not all pickle juice is created equal. That watery brine from bargain pickles? It'll give you watery results. SuckerPunch Classic Dill Pickle brine is loaded with garlic, dill, and spices that transform ordinary chicken into something extraordinary.
Every bite of your pickle juice-brined chicken will have that signature dill pickle punch that makes this recipe worth making again and again.
Ready to Make the Best Fried Chicken of Your Life?
This pickle juice-brined chicken recipe proves that sometimes the best kitchen hacks come from unexpected places. That leftover pickle juice you've been pouring down the drain? It's the secret to the juiciest, most flavorful fried chicken you've ever made.
Grab a jar of SuckerPunch Classic Dill Pickles, save that brine, and get ready to blow some minds at your next dinner.


Pickle juice: Your unexpected ally against period pain. Discover the electrolytes that fight cramps and learn the perfect dosage for monthly relief.


Makes 4 - 6 servings
Prep Time - 20 minutes
Total Time - 25 minutes
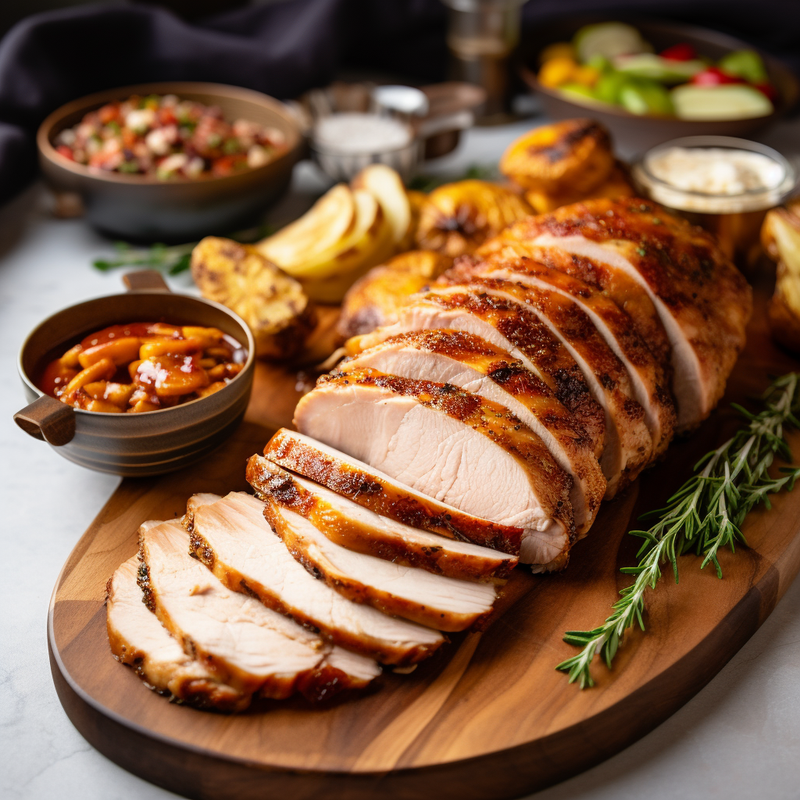
Makes - one 12 - 15 lb turkey
Prep Time - 30 minutes
Resting Time (inactive) - 16 hours
Cook Time - 4 hours
Total Time - 24 hours

Dill pickles can add a tangy twist to your classic hummus recipe. Read on to discover the best dill pickle hummus recipe.


If you’re the type of person that drinks the juice from the pickle jar, we’re not judging. The juice actually has healing powers. It’s hydrating, is said to relieve muscle cramps, and has even been linked to weight loss.
Makes - 6 - 8 servings
Prep Time - 30 minutes
Cook Time - 30 minutes
Total Time - 1 hour