


Upgrade Your Dishes with this Dill Pickle Relish Recipe
Prep Time: 10 minutes
Product: 2 cups relish
Listen up, pickle people: that sad little jar of store-bought relish lurking in your fridge? It's time for an upgrade. We're talking homemade dill pickle relish that'll transform your hot dogs, potato salad, chicken salad, and tartar sauce from basic to absolutely legendary.
This dill pickle relish recipe is your ticket to condiment greatness. It's tangy, crunchy, and packed with all that garlicky dill flavor you crave. The secret? Starting with pickles that already bring bold flavor to the table. No hours of prep. No complicated canning process. Just incredible relish in about 10 minutes flat.
The best part? You can whip up a batch whenever the craving hits and customize it exactly how you like it.
Why Make Your Own Dill Relish?
Sure, you could grab a jar of relish from the grocery store. But here's the thing: most store-bought relish tastes like sadness in a jar. Mushy texture, weak flavor, and that weird aftertaste nobody wants to talk about.
When you make your own pickle relish recipe starting with quality dill pickles, you get a crunchier texture, brighter flavor, and total control over what goes in it. Want more garlic? Go for it. Love extra fresh dill? Pile it on. Craving a little heat? Toss in some jalapeños. Your relish, your rules.
Plus, this easy recipe only takes about 10 minutes.
What You'll Need: Equipment Checklist
-
Food processor: Your best friend for getting that perfect relish texture
-
Large bowl: For mixing everything together
-
Fine mesh strainer: For draining any excess liquid
-
Airtight container or mason jar: For storing your finished relish
The Ingredient Lineup
Time to gather your players. This dill pickle relish recipe uses simple ingredients that pack maximum flavor.

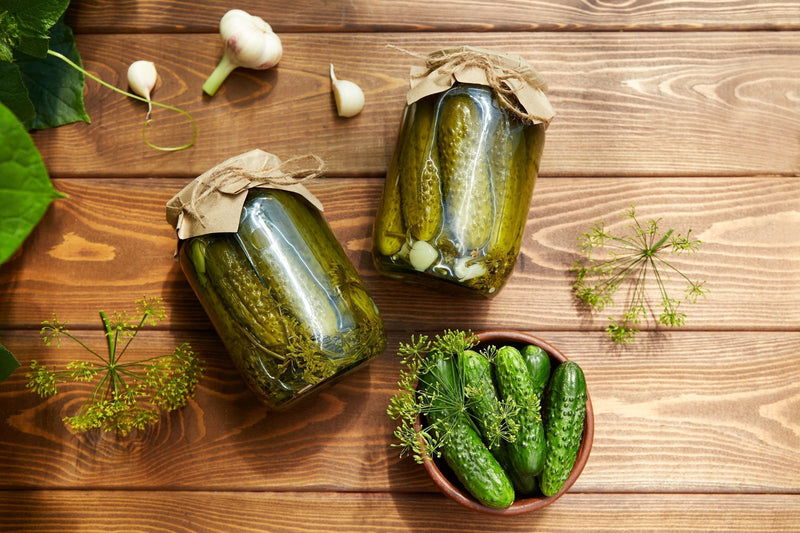
The Pickle Base
-
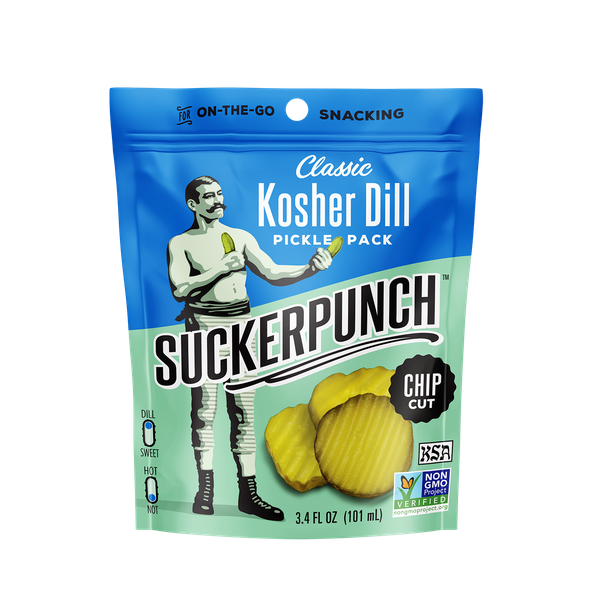
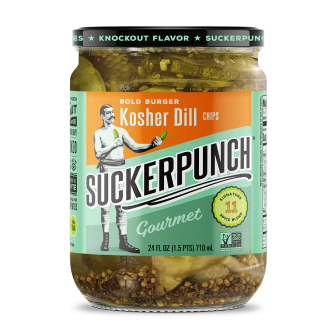
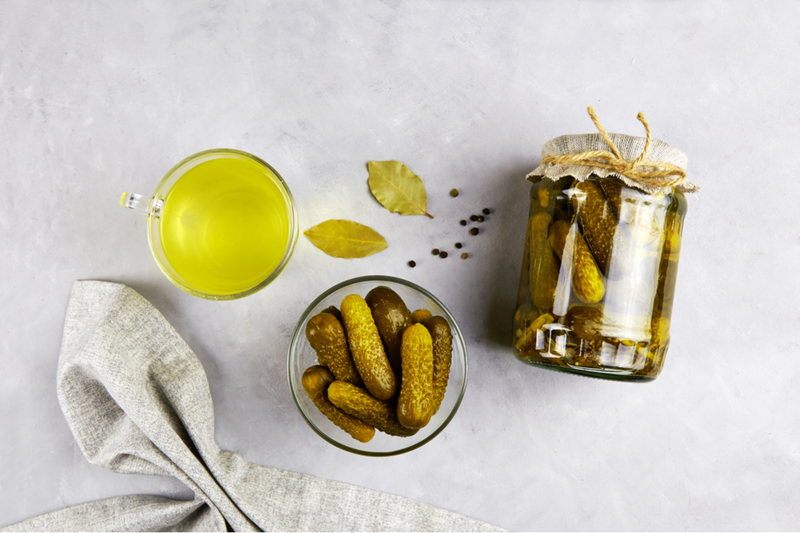
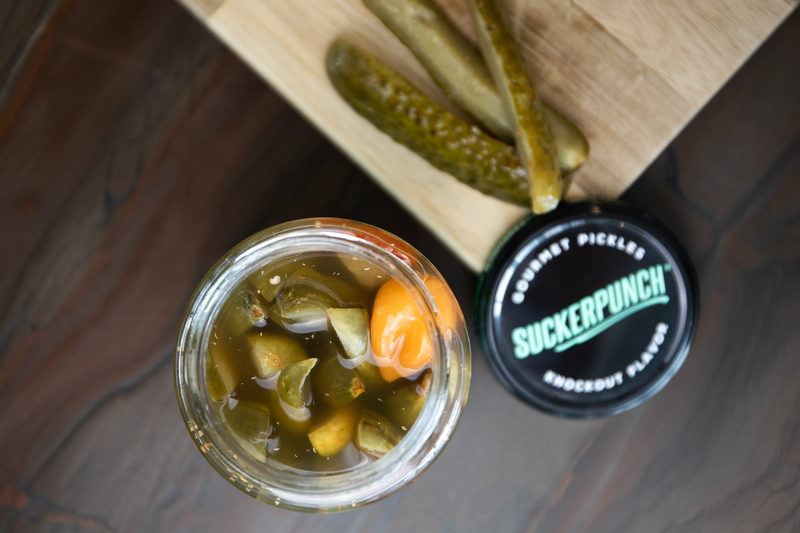
2 cups SuckerPunch Classic Dill Pickles (about one 24 oz jar), drained
-
¼ cup pickle juice from the jar (don't you dare throw this liquid gold away)
The Aromatics
-
½ cup white onion, roughly chopped
-
2 tablespoons fresh dill, chopped
The Flavor Boosters
-
1 teaspoon mustard seed
-
½ teaspoon celery seed
-
1 tablespoon white vinegar or white wine vinegar
-
1 teaspoon sugar (optional, for balance)
-
Pinch of salt and pepper to taste
Pro tip: SuckerPunch Classic Dill Pickles already come loaded with garlic, dill, and spices, so you're starting with a serious flavor advantage. The pickle juice is where the magic lives, so save every drop.
Let's Make Some Relish: Step-by-Step Instructions
Step 1: Prep Your Pickles
Drain your SuckerPunch pickles, but save that pickle juice! You'll need about ¼ cup for this recipe (and you can use the rest for pickle shots, marinades, or adding to dirty martinis).
Give the pickles a rough chop to get them into smaller pieces that'll fit in your food processor.
Step 2: Pulse It Up
Add the chopped pickles, onion, and fresh dill to your food processor. Pulse in short bursts until you get small, uniform pieces. You're going for relish texture here, not baby food. About 8-10 pulses should do the trick.
If you don't have a food processor, you can chop everything by hand. It'll take a bit longer, but it can still easily be done.
Step 3: Season and Mix
Transfer your chopped pickle mixture to a large bowl. Add the pickle juice, mustard seed, celery seed, vinegar, and sugar (if using). Give everything a good stir until well combined.
Taste and adjust seasoning. Need more tang? Add another splash of pickle juice or vinegar. Want it a little sweeter? Add a pinch more sugar.
Step 4: Drain the Excess
Here's the key to relish that's not watery: let it sit in a fine mesh strainer over a bowl for about 5 minutes. Press gently to remove excess liquid. Nobody wants soggy relish drowning their hot dog.
Step 5: Store and Enjoy
Transfer your finished relish to an airtight container or mason jar. Pop it in the fridge, and you're ready to go. This homemade relish will keep for 2-3 weeks refrigerated.
Mix It Up: Relish Variations
Got this dill relish recipe down? Great. Now let's talk about how to make it your own.
Sweet Pickle Relish Twist
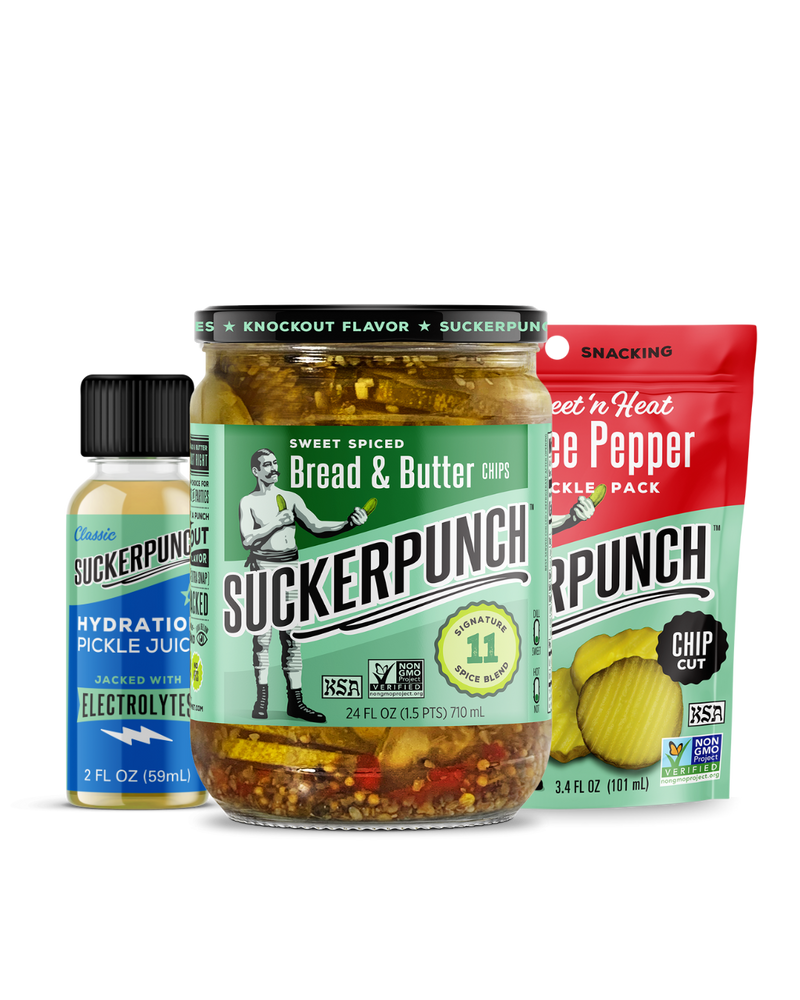
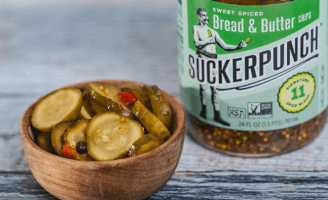
Want to swing toward sweet relish territory? Add 2-3 tablespoons of sugar and swap in SuckerPunch Bread and Butter Pickles for half the dill pickles. This version is killer on burgers.
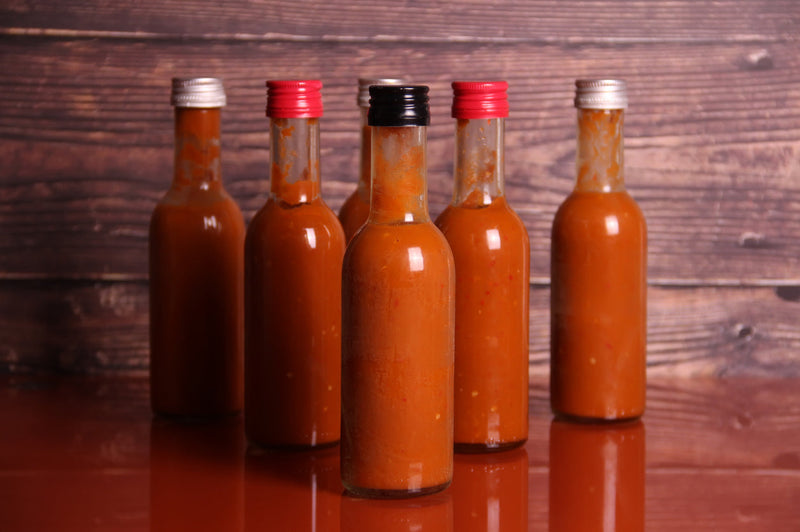
Spicy Kick Version
Heat seekers, listen up: swap in SuckerPunch Spicy Dill Pickles, or add 1-2 finely diced jalapeños (seeds in or out, depending on your pain tolerance). You can also add a pinch of red pepper flakes.
Garden Fresh Edition
Add ½ cup of finely diced red bell pepper for color and sweetness. Some diced celery brings extra crunch. This variation is perfect for topping those summer hot dogs.
Extra Dill Edition
Double down on the fresh dill and add a teaspoon of dill seed for the ultimate dill lovers' relish. Your dill-obsessed friends will thank you.
Ways to Use Your Homemade Dill Relish
You've made this beautiful batch of homemade dill relish. Now what? Here are some ideas beyond the obvious (though we fully support eating it straight from the jar).

Storage and Shelf Life
The good news: this dill pickle relish recipe stores beautifully in the fridge.
-
Refrigerated relish: 2-3 weeks in an airtight container
-
For best quality: Use within 2 weeks when the crunch is at its peak
-
Always use a clean utensil when scooping from the jar to prevent contamination
Since this is a fresh relish (no canning involved), keep it refrigerated at all times. If it develops any off odors, mold, or weird colors, toss it and make a fresh batch.
Troubleshooting Your Relish
Relish too watery?
Let it drain longer in the strainer and press out more liquid. You can also pat the chopped pickles dry before processing.
Relish too mushy?
You over-processed it. Next time, pulse in shorter bursts and check frequently. The texture should be chunky, not pureed.
Not flavorful enough?
Add more pickle juice! That brine is packed with flavor. You can also add more fresh dill or a splash of vinegar.
Too salty?
Cut back on the pickle juice and add a bit more vinegar instead. You can also add a pinch more sugar to balance things out.
Why SuckerPunch Pickles Make All the Difference
Look, you could use any pickle for this recipe. But starting with soggy, flavorless pickles means ending up with soggy, flavorless relish.
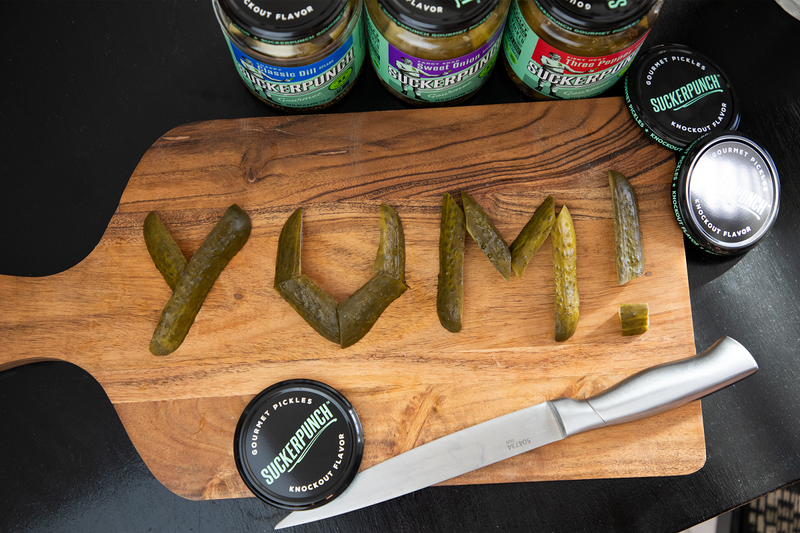
SuckerPunch Classic Dill Pickles are made with a signature blend of garlic, dill, and spices that bring bold flavor right out of the jar. Each pickle delivers a satisfying snap and that tangy punch that makes relish worth eating. And the brine? It's liquid gold that takes this recipe from good to incredible.
When your base ingredient already tastes amazing, your finished relish doesn't stand a chance of being boring.
Ready, Set, Relish

There you have it: everything you need to make a small batch of homemade dill pickle relish in about 10 minutes flat. No canning required. No hours of prep. Just incredible relish that'll put the store-bought stuff to shame.
Whether you're topping hot dogs at your next cookout, mixing up a batch of creamy potato salad, or upgrading your tartar sauce game, this dill relish delivers. And honestly? Once you taste the difference homemade makes, there's no going back to that sad grocery store relish.
Grab a jar of SuckerPunch pickles and get chopping. Your taste buds will thank you.


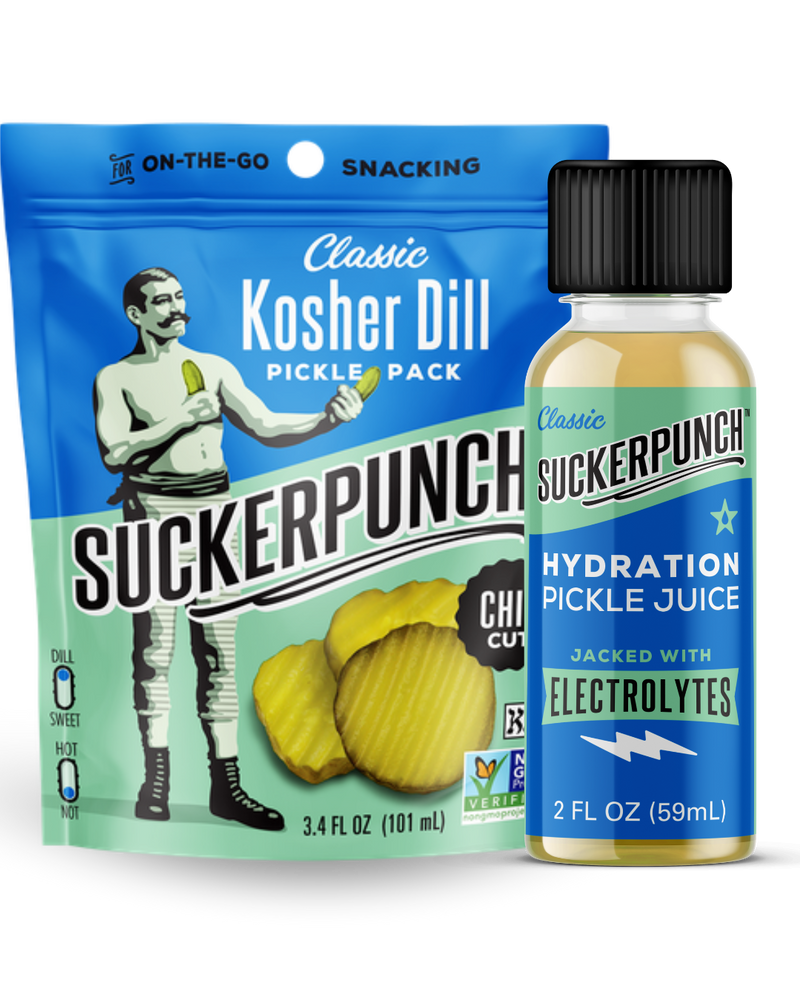
Pickle juice: Your unexpected ally against period pain. Discover the electrolytes that fight cramps and learn the perfect dosage for monthly relief.


Makes 4 - 6 servings
Prep Time - 20 minutes
Total Time - 25 minutes
Makes - one 12 - 15 lb turkey
Prep Time - 30 minutes
Resting Time (inactive) - 16 hours
Cook Time - 4 hours
Total Time - 24 hours

Dill pickles can add a tangy twist to your classic hummus recipe. Read on to discover the best dill pickle hummus recipe.


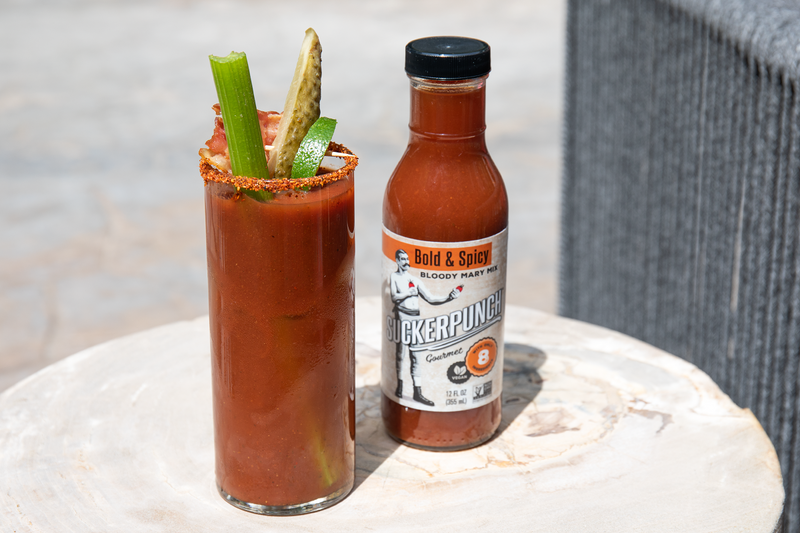

If you’re the type of person that drinks the juice from the pickle jar, we’re not judging. The juice actually has healing powers. It’s hydrating, is said to relieve muscle cramps, and has even been linked to weight loss.
Makes - 6 - 8 servings
Prep Time - 30 minutes
Cook Time - 30 minutes
Total Time - 1 hour